Two Tents 4 Perpetual Puffing (LED Powered)

Bueno Time

Well-Known Member
Figured Id give the old RIU forum a try again after being gone for a several years. Looks fairly active here even though forums seem to have died out some in recent years, times change I guess. Hope some people see this and enjoy the show, I'll try my best to grow some fire.

Veg Setup:
-24" x 36" x 60" Amazon/Fleabay Tent
-245w DIY LED
-Panasonic 80cfm Exhaust Fan
-Phresh 6" x 24" Carbon Filter

Flower Setup:
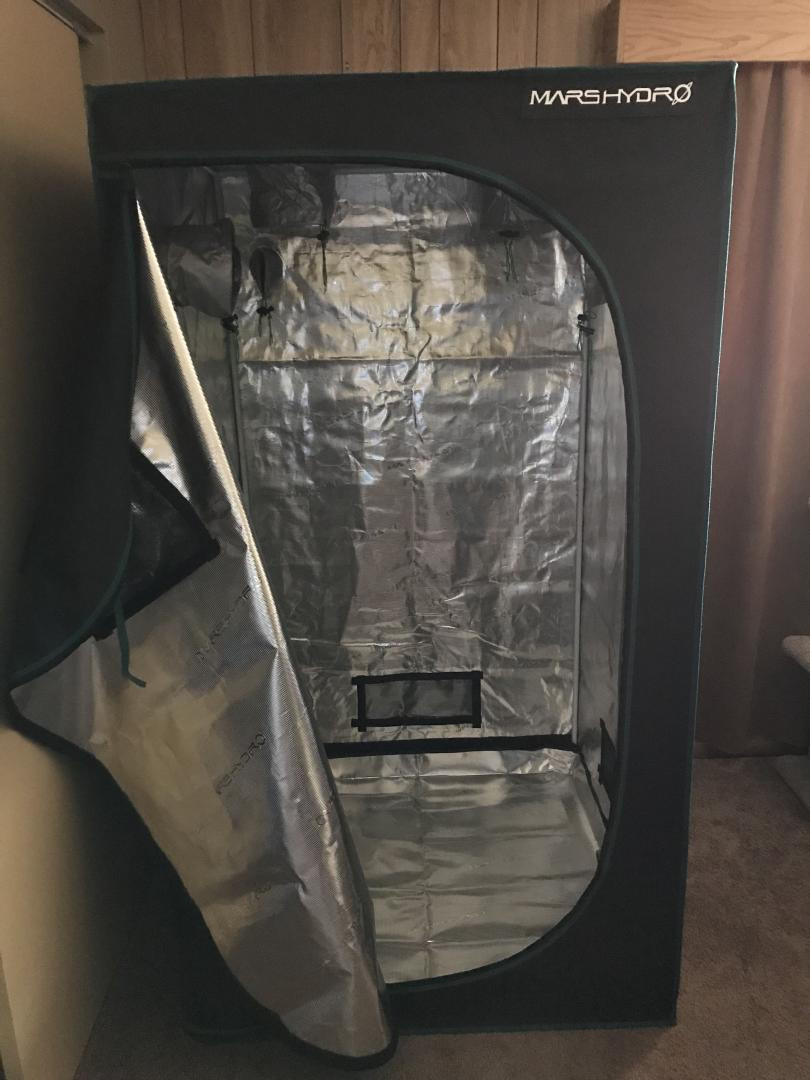
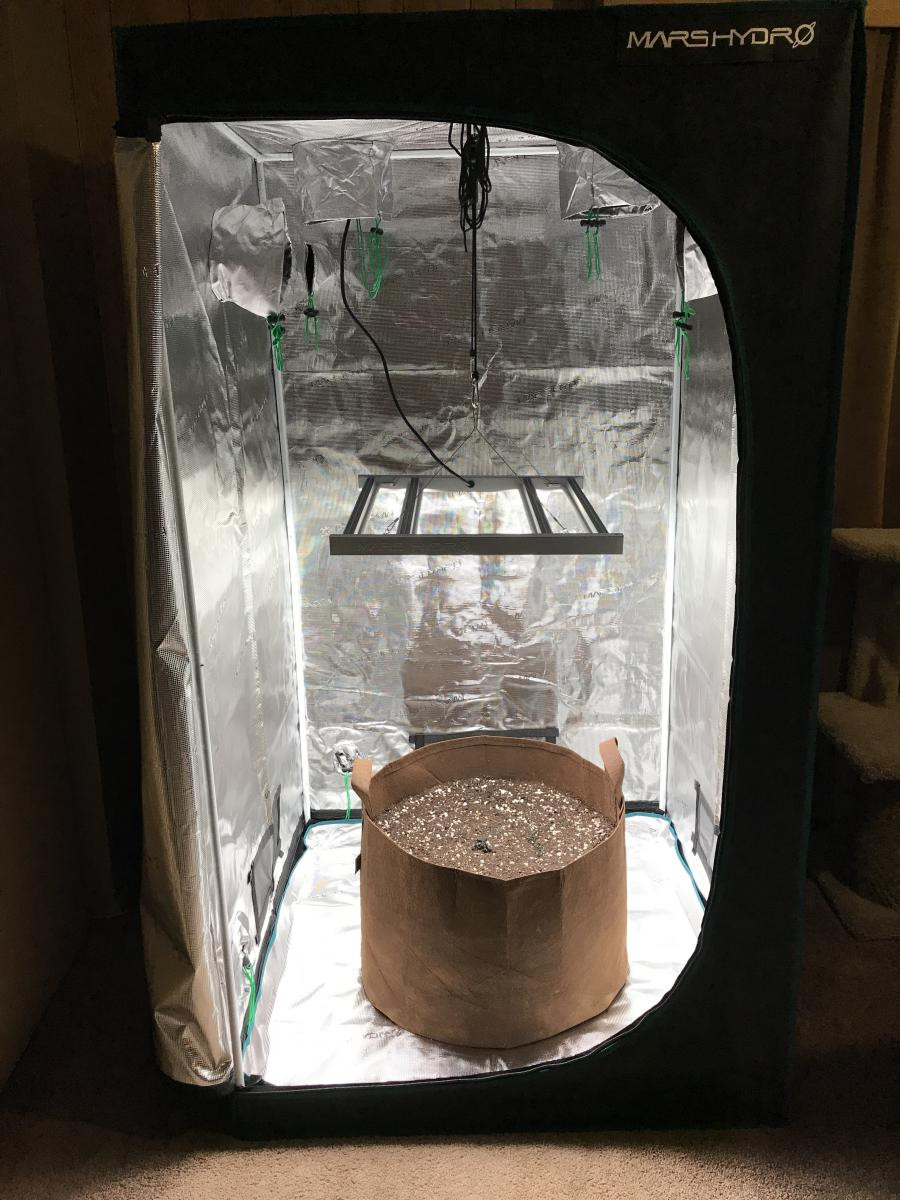
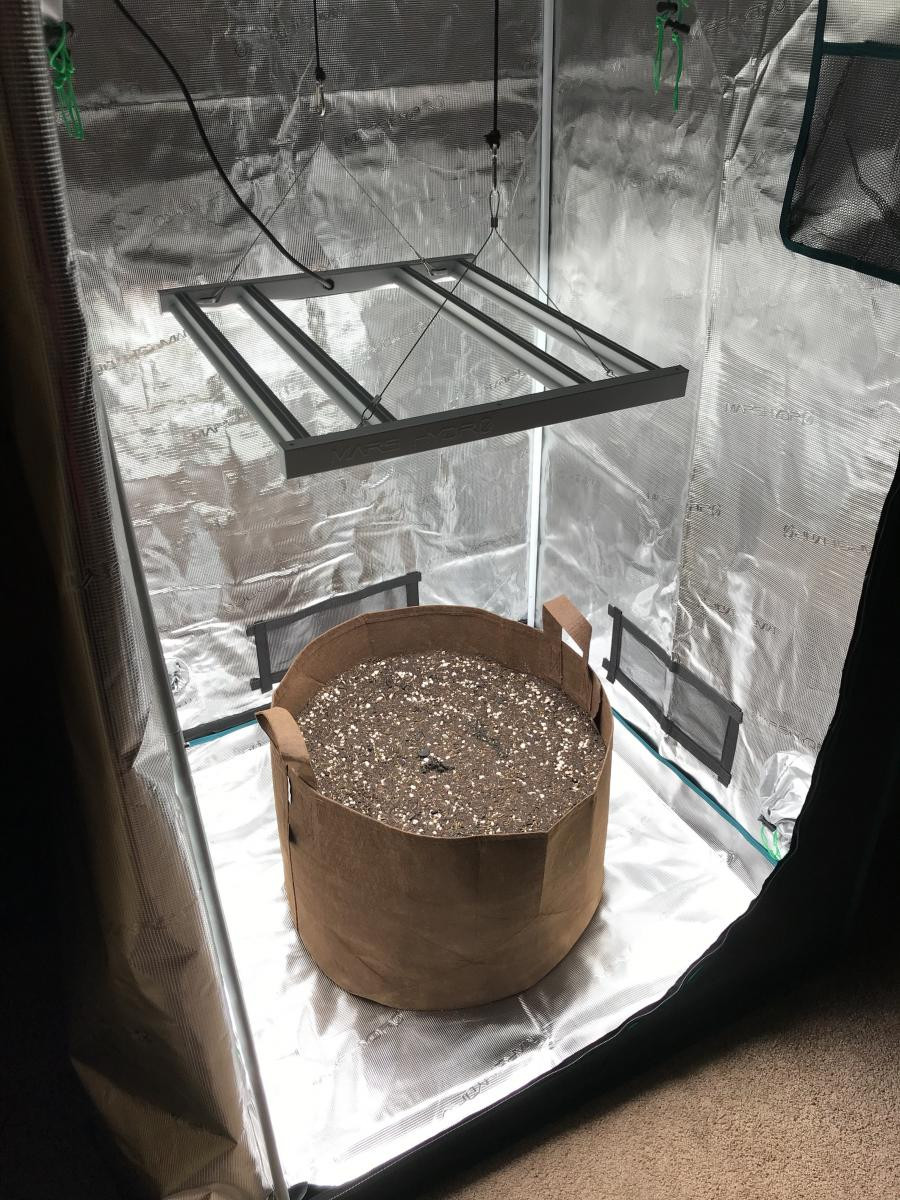
-39" x 39" x 71" Mars Hydro Tent (100cmx100cmx180cm)
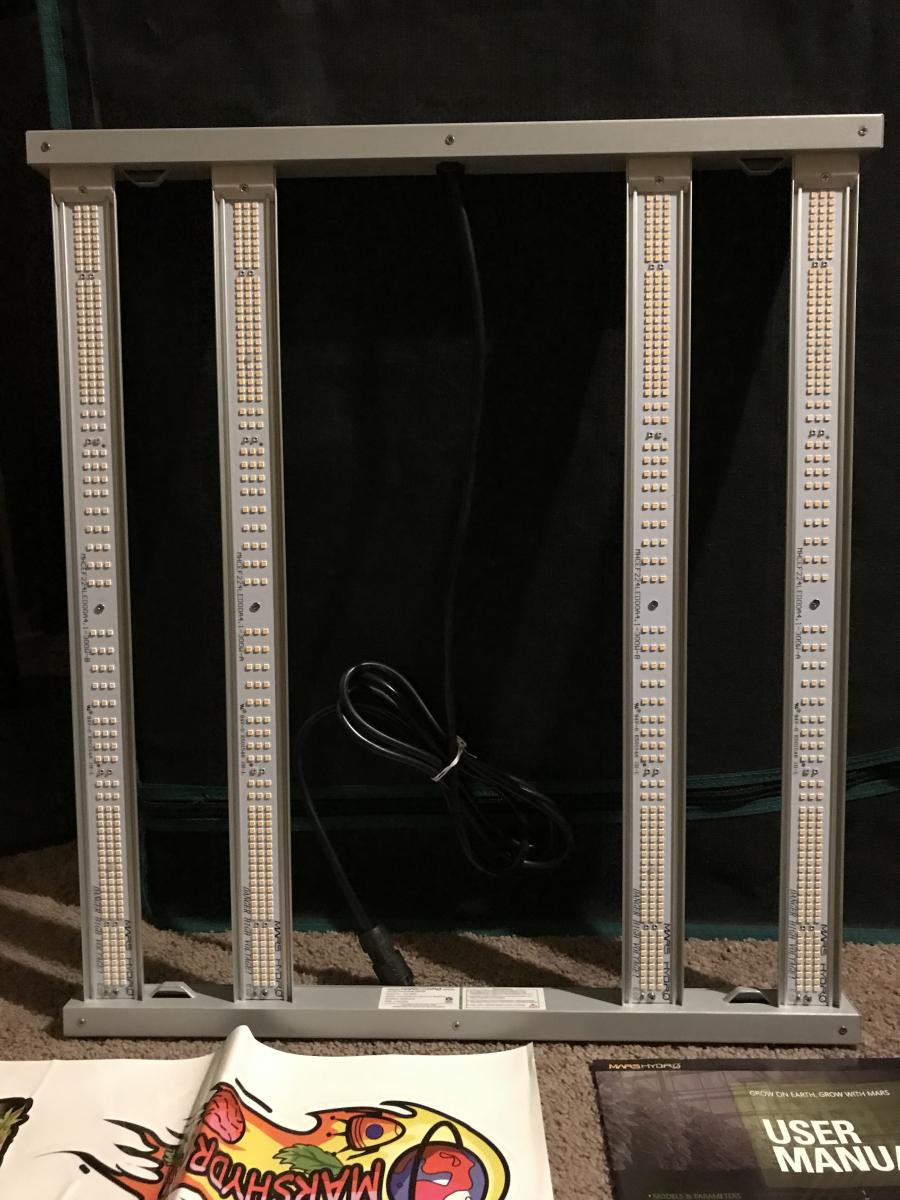
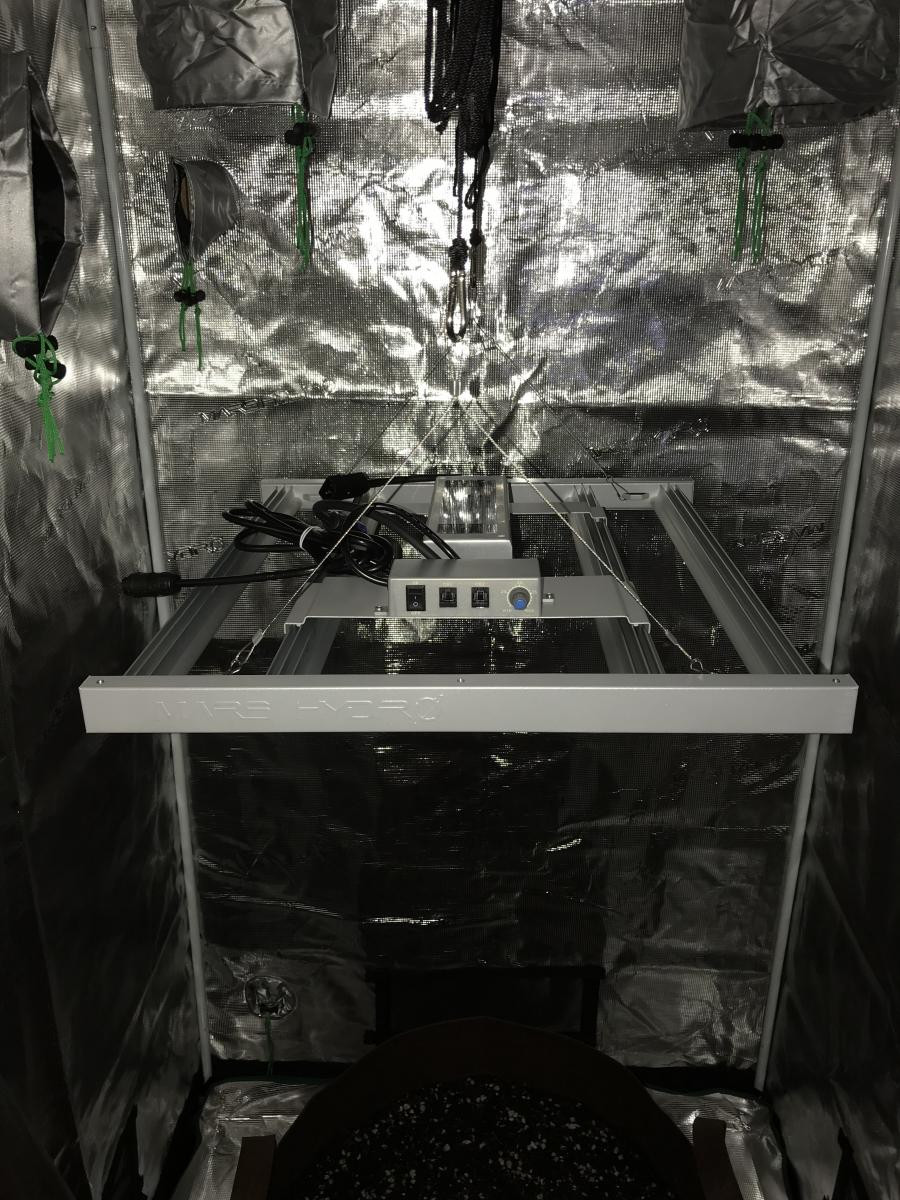
-Mars FC-3000 300w LED
-Panasonic 150cfm Exhaust Fan
-Phresh 6" x 24" Carbon Filter

Some pics of the Flowering Setup for now while I realized the old photo albums are a bit wacky now it seems and my pics of the veg tent setup aren't bueno anymore so the veg setup pics will come next.


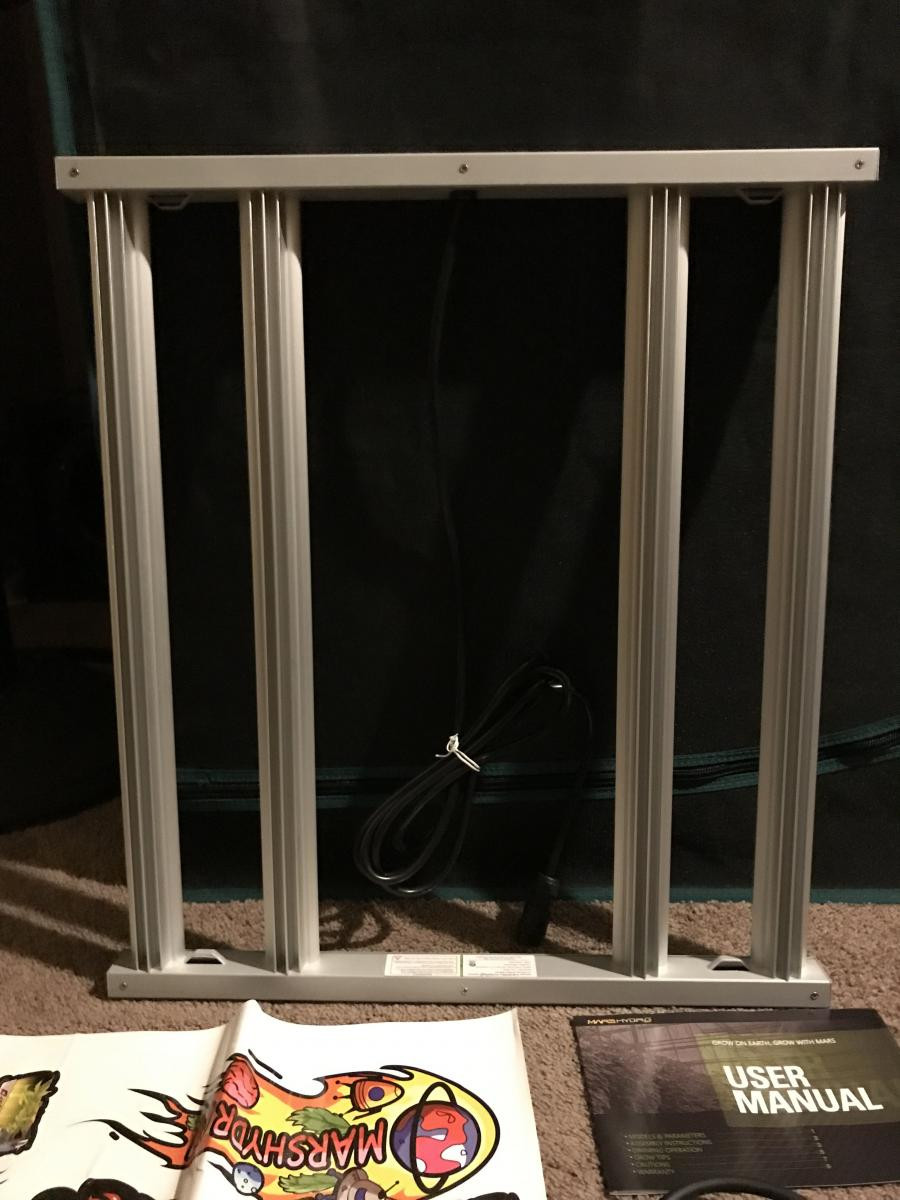
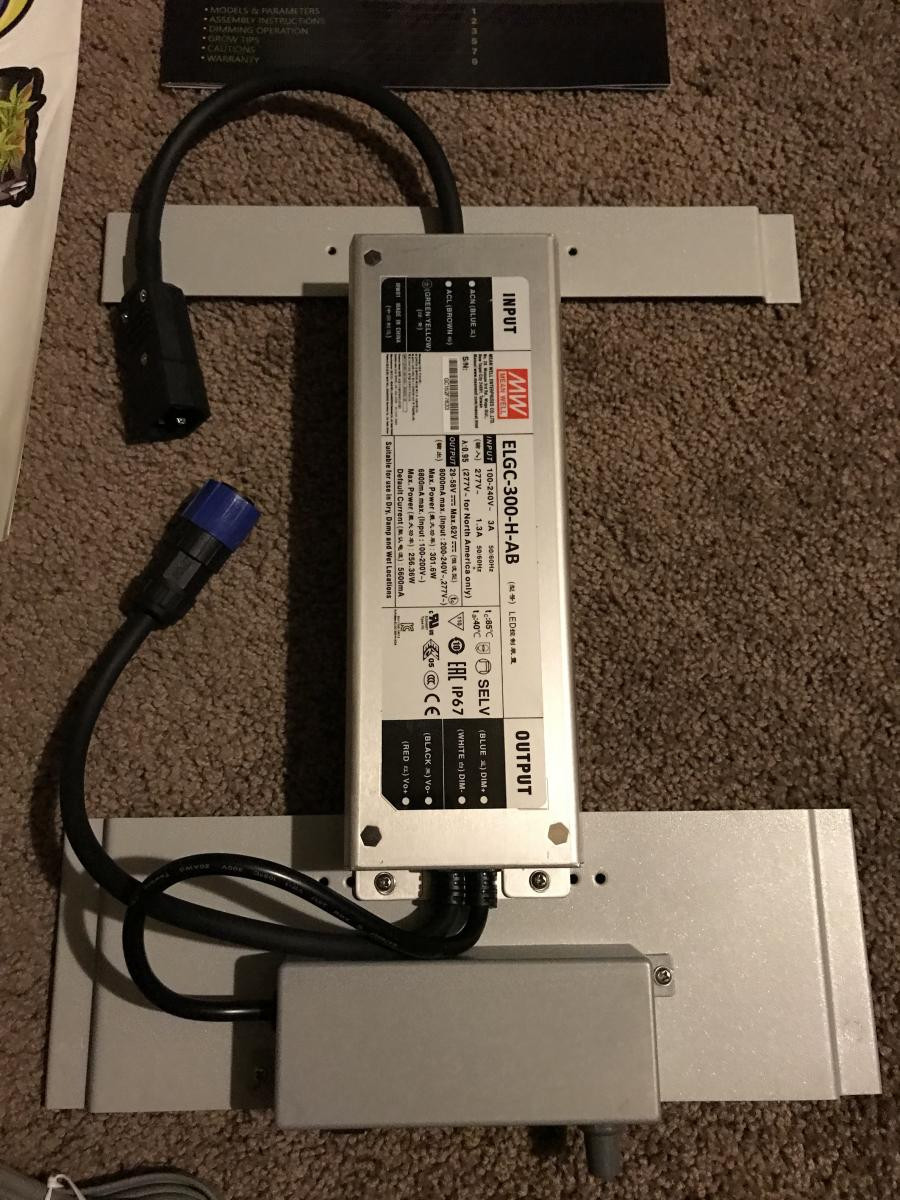
Nice looking lightweight fixture and I like the MeanWell driver, top quality drivers IMO, I always liked to use them on my past DIY LED builds when I had more time to tinker and build things. Good dimming function and also like the ability to run the driver either mounted directly on top of the fixture or remotely mounted. I always run remote drivers on my DIY LEDs in the past so I did the same here; lighter weight, less bulky fixture and a little less heat inside the tent.


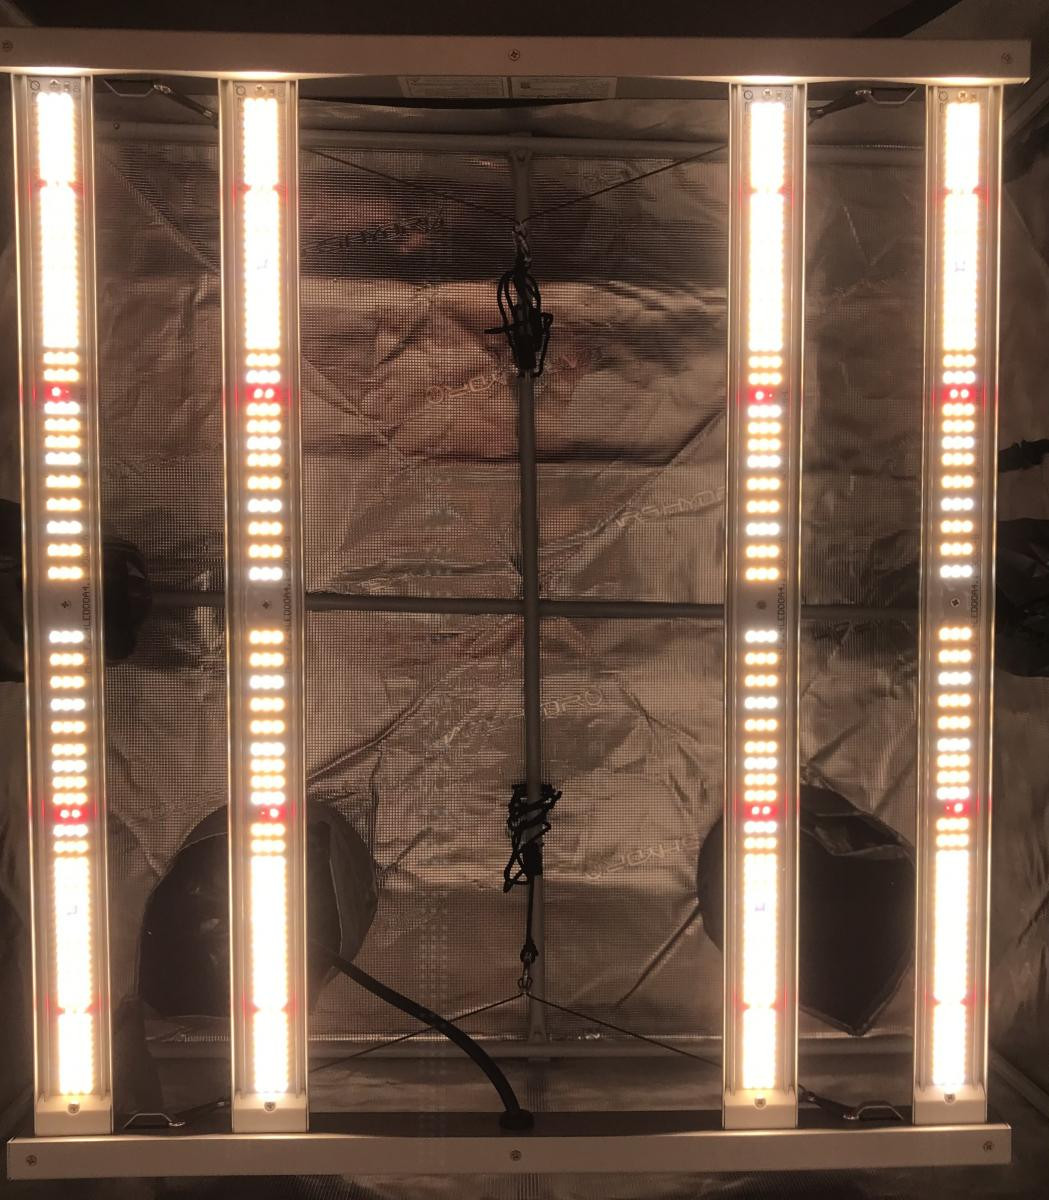
This slightly yellow color is more the actual color to the eye but the camera picks it up differently depending on angle of picture and dimmer setting on the light. Has a nice warm white glow. First impressions of the FC3000 is it seems like a very respectable light and should do quite well in this space (1 meter square).


Bueno Time

Well-Known Member
So I setup a 30 gallon "Soil Horizons" no till pot ala Leighton Morrison style. Search youtube for Leighton Morrison soil horizons, excellent material IMO, well worth the time to take a few puffs and watch a video or two. Even if you don't end up trying a large soil horizons pot or soil bed setup, I bet you would learn something useful from the guy, he knows soil.

Started with a 30 gallon fabric pot and assembled 3 main layers: O layer, A layer, E layer in a 4:2:1 depth ratio.

The layers:

-O layer is typical soil/super soil mix including any top dressing, cover crop, mulch, etc on top. This is 4 parts depth.

-A layer is sand silt and clay mix (typically native wildcrafted materials or local if possible and reasonable quality) plus 20% organic material/soil same as used for the O layer material. This is 2 parts depth. 'Optimal' sand silt clay ratio would be somewhere around 62.5% sand, 16.25% silt, and 21.25% clay and when mixed with 20% O layer material would be approx. 50% sand, 13% silt, 17% clay, 20% organic material. This isnt exact but roughly target ratios if possible. Can put the SSC material in a glass jar and put some water in and shake the jar and let sit 24 hours and the thickness of the layers will reveal a rough percentage of each material in the mix.

-E layer is gravel with a coarse sand fill/cap. This is 1 part depth.

Assembling the soil horizons:

So I first took the 30 gallon fabric pot and placed in the intended area of use because this is a heavy unit ~200lbs assembled and watered so I wont be moving it at least not easily. Anyway took the pot and laid down the gravel layer and capped it with coarse sand making sure to use enough sand to fill the voids between the gravel and just barely cover the top of the rocks.


Wet/water lightly the sand to make sure it had filled the voids in the gravel.

This was my natively wild sourced sand silt and clay material.


The sand, silt, clay and the soil measured out in a 80%/20% ratio and then mixed together well.


Bueno Time

Well-Known Member
After the A layer material is mixed add it on top of the bottom, gravel/sand layer. This is 2 parts depth of the 4:2:1 ratio, so twice as thick of a layer as the bottom and half the thickness the top layer will be.

I poured the material in and spread evenly and then I inoculated this layer by watering/moistening fairly well (without creating mud) with a freshly brewed 24hr simple compost tea which isnt technically necessary in my case but I figured it cant hurt: Leighton Morrison recommends the compost tea inoculation of the A layer material when the A layer is of 8" or more in thickness/depth and my layer is less than 8" thick, but anyway I still did it because I can.


I have been recycling and amending two batches of soil for a couple years now and its going OK but I know it surely needs actual soil testing and rebalancing so I went with some fresh bags of Buildasoil 3.0 since I intend this to be a no till pot that will last me many cycles, if done properly, so I wanted to start with a solid fresh baseline.


So I added this 3.0 soil on top of the A layer and moistened with the compost tea.


Bueno Time

Well-Known Member
Then I realized I didnt have enough 3.0 soil to fill the pot as well as I wanted even though I calculated total pot volume and volumes of each layer needed to fill the pot to nearly full with the 4:2:1 ratio. So I added a nice thick cap over the 3.0 soil with some of my years old recycled soil and transplanted (sprinkled some Azospirillium and Mycorrhizae in the hole) the plant into the pot and sprinkled some cover crop seeds generously across the top of the pot.


Then sprinkled down a 1/4 cup of buildasoil craft blend dry amendment mix.


And covered that with a nice little layer of some Oly Mountain compost I have.


A pea companion plant I left alive from the previous cover crop seeding in the old 1.8 gallon plastic pot this plant was in. (Dont worry those white spots are calcium carbonate foliar spray (CalCarb) I sprayed the plant with a couple days ago, not PM.)


And finally laid down some barley straw mulch to cover everything and keep the top soil moist.


Bueno Time

Well-Known Member
And a picture of post transplant with the plant inside the tent.

Hoping she roots in quick and takes off so we dont have to veg too much longer and can get to flowering. This plant is Inner-Chi OG (Larry OG x OG Kush) a bred and selected clone only cut by KingKloneBrand via All Star Clones. Super dank Lemon Gas OG Kush that I missed very badly and was happy to get this cut back after a number of years without her, she will be sticking around from a long time I hope.


Clones have also rooted so we are good to let her flower out once she gets some roots down in this pot and gains some size, vigor, and health here we can flip and get to the fun part.


Bueno Time

Well-Known Member
Pics from this morning, tops turning upward after installing the trellis netting layers last night and flattening the plant out to cover the footprint. She seems to be liking her new home and the FC3000 light, quite an upgrade from the 2x2x4 tent and 4 bulb 24" T5 HO she was previously vegging under Im sure . Light is set to ~30% right now still until she gets some roots down into the big pot to feed herself with.


Bueno Time

Well-Known Member
Had some blumats sitting around so I installed them in the 30 gal.


And first time trying to make 'root beer' with root balls of harvested plants. When done this could be fed weekly at 3mL per gallon during flowering. Definite signs of microbial activity as there is already some froth on top and bubbles coming up through the liquid like carbonation in a soft drink.


Bueno Time

Well-Known Member
Day 1 12/12, because of how the timer was set during veg she just went 24hrs in dark which I've never done before but now it's on track for 12/12 days til the end.

Also should mention I had the Mars FC3000 set at 50% (~124w actual using a Kill-A-Watt) so some quick maths to equal approximately the same PPFD to start flowering I turned the fixture up to ~70% on the dial (~182w actual using a Kill-A-Watt).

Anyway this not 100% scientific because of variables like efficiency at varying power/amperage levels and not having a meter to measure actual PAR, but I figured 182w x 12 hrs was roughly equivalent to 124w x 18 hours so we will start there and continue to turn it up slowly as we see the plant can handle without developing deficiencies from too much light intensity or too fast/too large of an increase in lighting before the plant can get used to it.

I'll share my findings on the actual power consumption (measured with a Kill-A-Watt) at the different settings on the power dial for the fixture.

I'm going to try to figure out something cheap and simple to tie the sides of the trellis netting to because the plant is fighting the screen enough now that it is kind of bunching up towards the center but has a nicer canopy spread when i pull the trellis netting out to the sides more so Id like to accomplish that here probably tomorrow.

Thats about all for now I think, stay tuned for more updates now that we are in flowering stage things will happen pretty quickly and we should have a few 2-3 update posts a week.


Bueno Time

Well-Known Member
Almost forgot to upload and post these findings (with my fixture) assume they all use the same dimming setup so maybe close between fixtures of the same model (FC3000). Kind of a crude diagram but should get the point across. Tested each marking on the dial twice and some were identical and some had a few watts of variation but also the dial is infinitely adjustable so it can dial to any level between the markings as well. I found it an interesting test, I always performed on my own DIY LED systems that were dimmable, so I can reference the diagram for rough measurements without needing to pull the Kill-A-Watt out and mess around.

MARS FC3000 dimmable between 42w-290w. The higher the setting on the dial the faster the power increases per amount of knob turn too which is interesting to me.

Wonder how they setup the dimming circuit on these: is it a variable resistance potentiometer or is this PWM or ? I'd like to know out of curiousity, not that it matters to most because it works fine. I just like to know how stuff works.


Bueno Time

Well-Known Member
Had to do an extensive training sesh this morning. She's going hard already and we are just getting started... Tops were 4-8" over the screen and it was about to get unruly. I accidentally snapped off a nice top too but it can be a clone now I suppose.

Seems to be loving the light turned up, so we will steadily increase slowly but for now leaving at ~70% on the dial for a couple days until she's used to that before I bump it up a little more.


Last edited:

Bueno Time

Well-Known Member
So I hadn't showed the veg tent yet but since this is Two Tents 4 Perpetual Puffing, here is my humble little veg space.

I used to flower in here for years its a 2' x 3' x 5' tent.

I am thinking about building a rack for inside to split the space into two levels both with the 2' x 3' foot print each. One for mothers and clones and one for vegging/overflow/cloning.

That way I have space for everything Id need in the little veg space, can keep my mothers and propagate clones or seedlings and pre-veg plants to put into the flowering tent so its almost an immediate flip between cycles with minimal veg in the flower tent.


Two Inner-Chi OG moms in there right now and an Inner-Chi OG clone that was broken off the main plant during training the other day. More genetics on the way though.


And my DIY LED fixture I had been using to veg and flower but now will be used for veg.

Specs:
-Mean Well HLG-185H-C1400A driver, powering 35pcs Vero 10 4000K 80CRI
-Fasttech 650mA puck driver, powering 18pcs LEDs. (4 pcs Cree XP-E P3 630nm, 4 pcs Philips Luxeon ES M4R 450nm, 10 pcs Philips Luxeon ES EX6 660nm)
-9 pcs Heatsink USA - 2.079" Profile - 20" long each heatsink
245w MAX (VERO COBS dimmable between 78 watts and 215 watts max, REDS/BLUES are 30 watts not dimmable)

I likely will not use the reds/blues for veg and just run the Vero 4000K.


Bueno Time

Well-Known Member
Nothing too dramatically different yet but I bumped the power up on the Mars FC3000 to 75% last night and she's loving it. Will be watching the plant and dialing up the power some more in a few days or so.

Both tents open this morning for a photo.


Day 3 12/12 Inner-Chi OG


Top